Showing posts with label pom pom. Show all posts

Monday, 1 December 2014

I have officially just invented the most fluffy furry WOOLTOP Pompom EVER!

http://www.gilliangladrag.co.uk/c/670/Felting-Wool-Tops-and-Fibres 

Stop what you are doing everyone! I have a very important announcement to make!
Today I figured out that if you use carded Wooltops to make a pompom, it's extremely fast, extremely soft and furry and extremely amazing! Read on to find out how...

Start with just ONE tiny metre of merino wooltops (usually used for felting or spinning.) And a pompom maker! That's all! ANY wool tops will do - but here I used our house blend "Phantasmagorical" (£4.80 for 100g will make about 4 pompoms!) 
Remember - You can get 15% off spends of £20+ till midnight on Tuesday 2nd December with code : FLUFFY15


Split the merino wooltop length in half lengthways and wrap half around the left side of the pompom maker and half around the right side, tucking in the ends. It's so fluffy and bulky - that's all you'll need :-)


http://www.gilliangladrag.co.uk/c/7503/Merino-Wool-Top-Blends

Secure the pompom maker and then start to snip! All the way around. As you do - the pompom will magically come to life!


Next, secure the new furry wooltop pompom with some strong string and tie it REALLY REALLY tightly. I used our candy twist twine here:

http://www.gilliangladrag.co.uk/p/8988/Nutscene-3-Pack-of-Candy-Twist-Twirly-Twine

Carefully release your new fabulous pompom...


It's the furriest, quickest, most fabulous pompom ever! Ever so soft and really LUSH!


The last thing to do is give it a trim (my favourite bit) - and then it's ready to hang! Imagine a Christmas tree full of these :-)


http://www.gilliangladrag.co.uk/c/7503/Merino-Wool-Top-Blends

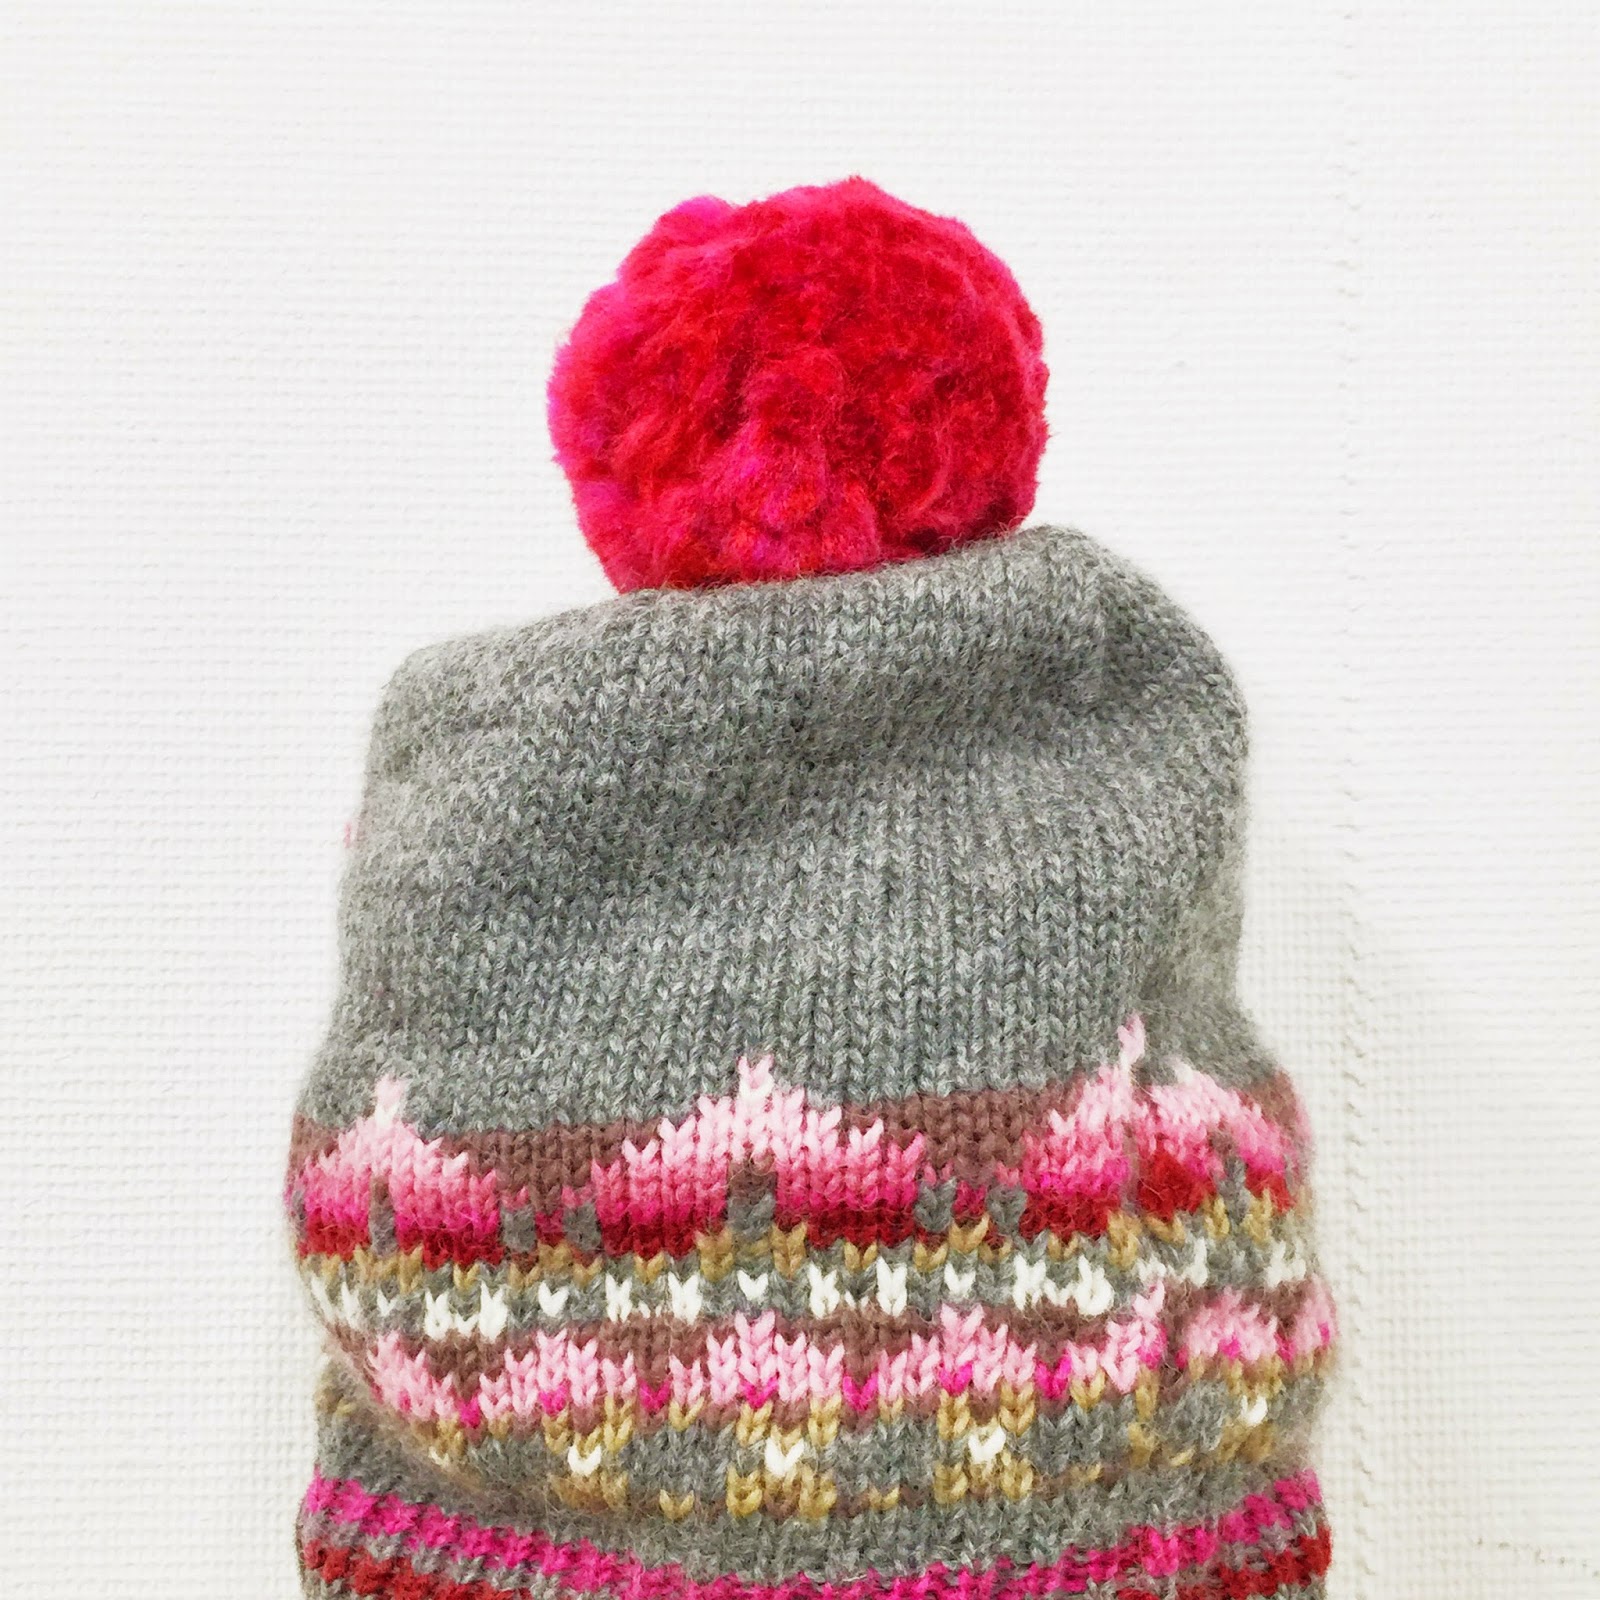
(Or adorn your favourite hat! Here I used our Red Merino with Pink Tussah Silk Blend)The possibilities are endless...


Remember - You can get 15% off spends of £20+ till midnight on Tuesday 2nd December with code : FLUFFY15
*Valid on new orders only and only at time of ordering xxx 

Sunday, 1 June 2014

"Sweeping the Embroidered Path" : Using up your bits and bobs, and doing a spot of embroidery!

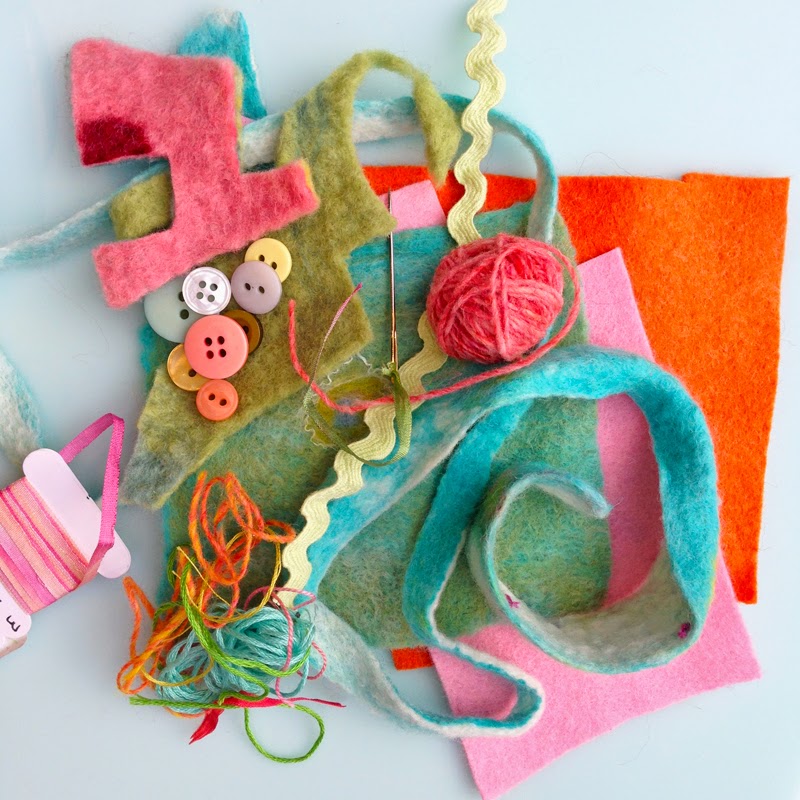
So who hasn't got a pile of old bits of fabric, threads, trimmings, & buttons?? All acquired because they are truly lovely & gorgeous! But they do need to get used - so it's time to sweep up and get all your bits out & get INSPIRED!


So I dug out some old bits of felt I'd made (this background was actually an off-cut from a lampshade last year)...


and I find quite a few bits of ready made felt too, and some buttons, trimmings and threads...


You could use anything you find - it could be fabric, or even an old sweater! I decided the edge of the off-cut (it had been a flower and leaf) looked like a little hill with a tree. So I cut out a little house from some needle felted felt I'd made ages ago, and a roof from some orange felt offcuts...


Next I sewed the little house in place using blanket stitch and then added a "ric-rac" pathway , just using a simple 'cross stitch' making little 'x's with a simple red sewing cotton...


Using some bits of embroidery cotton (I used Sajou Retors du Nord) I used a naive running stitch to sew on the orange roof - to mimic roof tiles, and some simple crosses for the windows :-) Nice and easy!


Next I decided to add some pretty silk ribbon roses. If you've never done these before they are actually really easy. Here's how:


1) Start by sewing a 5 pointed star using simple sewing cotton.
2) Pick a lovely 4mm silk ribbon - some are variegated which is handy. Use a chenille needle (or similar).
3) Come up through the centre, then weave under and over the 5 pointed star as you go around. It's that simple!
4)Keep weaving under and over, under and over. As you have an odd number of "spokes" the ribbon forms a lovely rose as you go.
5) Continue to the very outside then secure at the back.
6) If you've some contrasting green ribbon - add some little leaves and maybe a stem. And that's it!


Next I added a pink felt front door, a bead door knocker, and some more little decorative stitches - including these simple french knots.


To make the sun, I used the same method as the ribbon rose - but this time I used some old yarn I had (Noro) instead of the silk ribbon. Then I added some simple little "rays" radiating outwards...


And then I had to add this lady with her broom. She came from a Hornby train set collection of figures that I bought from the model shop a while ago for another photo shoot-(as you do.) She seemed just the right size standing on the pathway!(+ I like her apron) ;-)


I finished things off with a piece of red mini pompom trim (which happened to be JUST the right length!) and I added some more silk ribbon stitches to my "tree" and a few more flowers around the house. I also finished off the windows with a dark outline, and added a cute little heart button for the chimney! Happy Days....


If you feel INSPIRED and would like to Learn Embroidery - we have a fab selection at The Gilliangladrag Fluff-a-torium. Click HERE to take a look! x